


NATSUMIKUMI MATERIAL yukatas are made with Chusen fabric.
The centuries old traditional deying process is totally natural and allows the fabric to be used on both the recto and the verso.
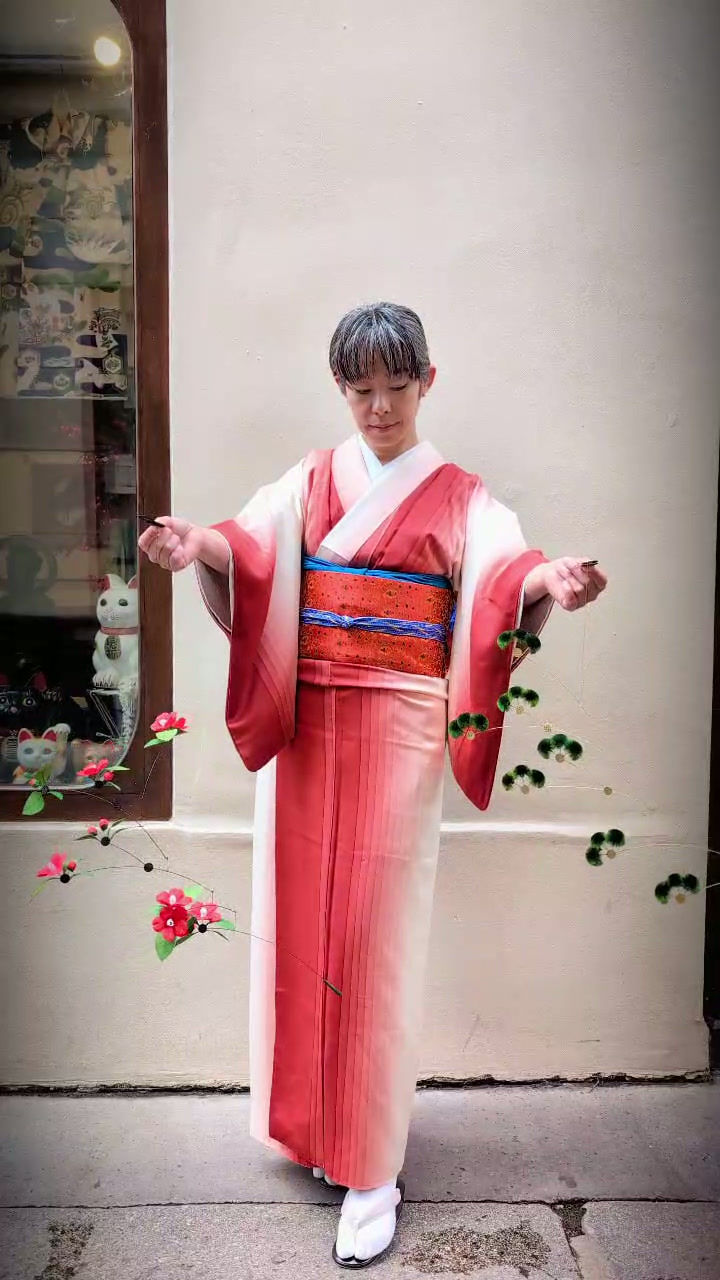
The patterns are delicate, intricate yet subtle.
Our yukatas can be worn in all occasions are perfect for cool and hot days.
Only made with natural products,they are kind to your skin and comfy.
Colors: black, brown and blue.
Material: Cotton and linen.
Size: made to order for a perfect fit.
YUKATA (Blue)
Because our yukatas are made to order there is a production time of four weeks.
Chusen fabrics are based on a traditional dyeing technique from Japan.
Although Chusen date back to the Heien Period (AD 794-1192), the ‘chusen’ dyeing technique still used by today’s craftsmen, was devised in the Meji era (1868-1912).
This technique is as unique as the tenugui designs themselves. Tenugui are dyed by hand, resulting in an inconsistency in the colour and pattern of each piece. The design permeates the fabric, so that it can be seen clearly on both sides and as the colour fades with use and age, the cotton acquires its unique soft texture.
The technique of "CHUSEN" specialized in is one of the traditional Japanese methods of dyeing.
The most important characteristic of "CHUSEN" is that it can be dyed on both sides, which expresses the Japanese sense of beauty for textiles.
Chusen is a particular kind of stencil-based dyeing. With chusen, a starch paste is first applied, then dye is poured onto both sides of the layers of fabric (which have been piled one on top of the other), creating a dyed pattern. The fabric is dyed on both sides, which gives it a particular three-dimensional quality that cannot be enjoyed with any other printing technique. Another characteristic of chusen is that the dye penetrates the multiple layers of fabric at different rates, which means that each layer of fabric dyes slightly differently. Because the work is mostly done by hand, differences in temperature and humidity easily impact on the final finish, from moment to moment. It is easy for the dye to bleed or for irregularities to appear.The dyeing process:
1. Fine paper patterns are made on ‘bitter paper’ (made up of several layers of Japanese paper, painted with the bitter juice of the persimmon). They are carved by hand and covered with a film of gossamer (fine mesh), which makes them durable enough to withstand repeated use.
2. Rolls of bleached cotton cloth (approx 34 cm wide) are prepared
3. The first piece of cloth is rolled out flat on the printing bed. The paper patterns are mounted as screens, and then lowered onto the fabric. Using a starch paste made from a mixture of clay and seaweed, the inverted pattern is printed on the first 90 cm section of cloth. Then the screen is lifted. This process is much like screen printing. Then the next 90 cm section from the roll of unprinted cloth is rolled out on top of the previously printed section and the process is repeated, until many layers of cloth have been printed with the starch paste and sandwiched together.
4. To help keep the starch print in place on the layered cloth, it is laid on a flat surface and covered in sand.
5. Then the layered cloth is placed on a special dyeing bed. Dyes are poured onto the surface of the starched textiles and sucked from below by a compressor. Dyes are also poured onto the reverse side, which helps let the dyes permeate through the textiles, resulting in the tenugui’s characteristic quality of the pattern on both sides.
6. If many colours are used, a mound is formed by pouring a trail of paste around each area to separate the dyes.
7. The textiles are then vigorously washed, which opens them out and removes the starch and extra dye.
8. They are then hung to dry in the sun.